I’ve always been captivated by the idea of transforming plain fabric into something rich, beautiful, and uniquely mine. Enter tea dyeing—a simple yet potent way to achieve stunning fabrics while keeping my crafting eco-conscious. Imagine the colors and textures you can create with just a steeping cup of tea! Ready to roll up your sleeves and bring your fabric to life? Let’s get into it!
Key Takeaways
- Tea dyeing is an eco-friendly crafting practice that uses natural pigments from tea leaves.
- The process is simple but requires precise steps to achieve the best results.
- Choosing the right fabric and preparation technique can make or break your dye job.
- I share troubleshooting tips to handle common dyeing issues, ensuring your projects turn out amazing every time.
Introduction to Tea Dyeing
What is Tea Dyeing?
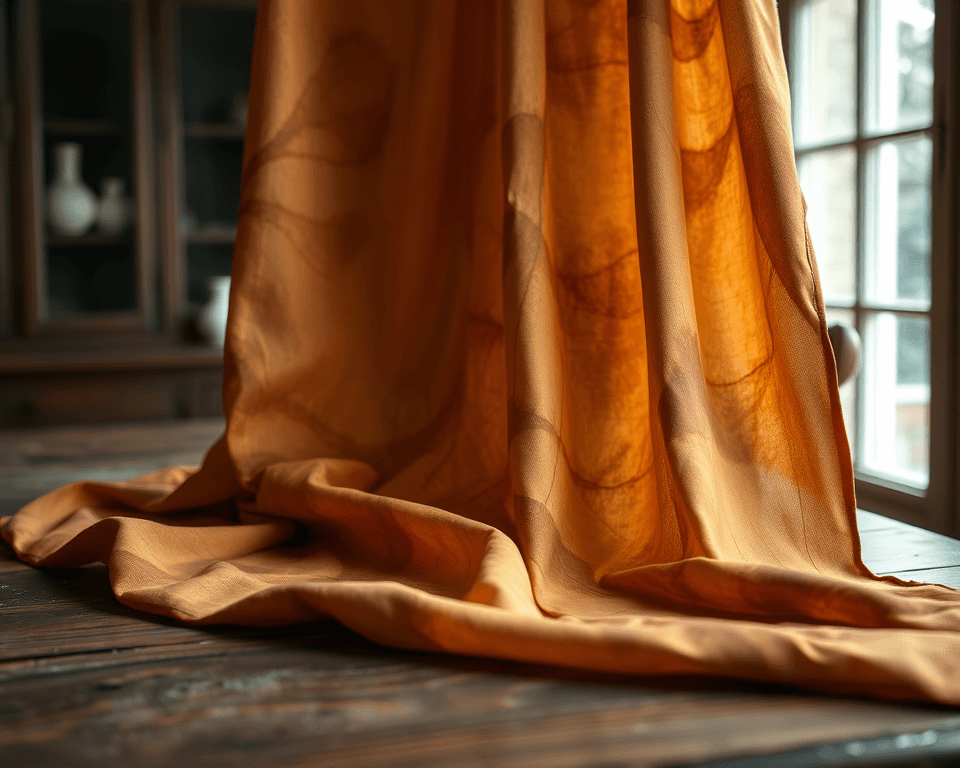
Alright, let’s break it down: tea dyeing is a natural way of coloring fabrics using tea, a material you probably have in your kitchen right now. When you brew tea, you release pigments that can penetrate the fibers of your fabric, resulting in beautiful, earthy tones. This isn’t just about changing the color; it’s also about diving into natural dyeing, a sustainable crafting method that helps reduce waste. By utilizing tea, you’re not only crafting beautiful pieces but also embracing an eco-friendly approach.
Using everyday materials for fabric dyeing means you’re cutting out the harmful chemicals most commercial dyes contain and opting for a DIY dyeing method that speaks to your eco-conscious side. Plus, who doesn’t love the comforting aroma that wafts in as you brew the tea? It adds another layer of joy to the process!
Benefits of Dyeing with Tea
Why bother with tea dyeing? Let me hit you with some of the massive benefits you’ll experience:
- Non-toxic dyes: You’re working with natural materials that aren’t harmful to you or the environment. Say goodbye to inhaling potent chemicals!
- Unique aesthetics: Each batch is different. You get styles and shades that are all yours—perfect for standing out.
- Historical significance: This isn’t just a trend; tea dyeing has deep roots in various cultures, adding a layer of richness to your craft.
- Environmental perks: By using biodegradable dyes, you’re practicing sustainable crafts and reducing your environmental footprint.
Necessary Materials for Tea Dyeing
List of Supplies
Before you get started on this exciting adventure, it’s crucial to gather everything you’ll need. Here’s a quick rundown of the essential supplies:
- Fabric Types: Cotton, silk, and wool are your best friends here. They absorb dye exceptionally well, giving you gorgeous results. Stay away from synthetic fibers—they won’t take up the colors nearly as well.
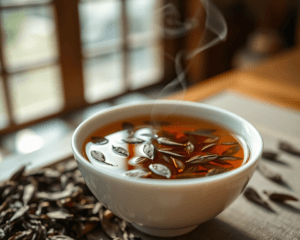
- Tea Leaves: You can use tea bags or loose-leaf tea. The stronger the tea, the deeper the color. Think black tea for a rich brown, chamomile for a soft yellow, or hibiscus for a rosy tint.
- Water: You’ll need a good amount to create your dye bath, so don’t skimp here.
- Mordant: This is optional but highly recommended. Using a mordant helps fix the dye and ensures that the colors last longer. Alum is a common choice that’s easy to find.
Choosing the Right Fabric
Picking the right fabric is game-changing. Natural fibers like cotton, silk, and wool are the best options because they absorb dye much more effectively than synthetic textiles. This means you’ll get richer, more vibrant colors. Here’s a little insight into fabric compatibilities:
- Cotton: This is a superstar! It absorbs colors beautifully and is easy to work with for beginners.
- Silk: Produces stunning results, and the dye flows differently, giving you elegant variations.
- Wool: A bit heavier, but it’ll take the dye well, offering a unique texture.
Avoid blends of synthetic materials—their low absorbency can result in washed-out colors and disappointment. Pay attention to your fabric choices; they can significantly impact color intensity and dye receptiveness.
Step-by-Step Instructions for Dyeing Fabric with Tea
Preparing the Fabric
Before diving headfirst into dyeing, you’ve got to prep that fabric! This is crucial because any impurities or finishes on the fabric can hinder the dye absorption. Here’s how to do it:
First, wash your fabric to remove any finishes or dirt. It’s like prepping a canvas for painting—clean and ready to go! I generally recommend soaking it in warm water with a little detergent to get rid of any residues.
Next, if you’re using a mordant, soak your fabric in a solution of alum mixed with water (about 1 tablespoon per quart of water) for at least an hour. This step might sound like a hassle, but trust me, it’ll pay off in brighter colors and better colorfastness!
Making the Dye Bath
Now for the fun part! Making your dye bath is where the magic really starts. Here’s the run-down:
- Grab your tea—I’m talking about about 5-6 tea bags or around a cup of loose-leaf tea for a quart of water.
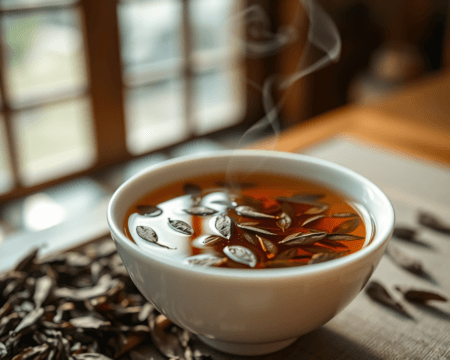
- Boil the water in a pot, and once it’s rolling, add your tea. Let it steep for at least 30 minutes. This can make or break the consistency of your dye, so don’t rush it.
- If you want a deeper color, consider adding more tea bags or time to steep. I tend to go for a solid hour for really intense results.
Dyeing Process
With the tea steeped and ready, it’s time to submerge your fabric into the dye bath.
First, immerse your prepped fabric into the pot. Make sure the fabric is fully covered by the dye. You can stir it gently, but keep it easy—the last thing you want is a wrinkled mess.
Next, let it sit! The duration can vary. For shades of light tan, 30 minutes will do, but if you’re aiming for a deeper brown, you might want to keep it in for a couple of hours. Don’t forget to check on it and jiggle it around now and then to ensure the dye sets uniformly.
After you’re happy with the color, it’s time to remove the fabric. Rinse it under cold water until the water runs clear—this indicates that it’s ready for the next step.
Rinsing and Drying
You’ve come so far, and now it’s time to rinse and dry while preserving your beautiful new colors.
Begin with rinsing your fabric in cold water. This sets the dye and helps with any excess tea. If you’ve included a mordant, this step is crucial to prevent bleeding later on.
For drying, lay the fabric flat on a clean, dry surface or hang it up somewhere airy. Avoid direct sunlight to prevent fading—no one wants a washed-out version of their masterpiece. Once it’s dry, give it a gentle press with an iron if needed—this helps smooth out any wrinkles from the dyeing process.
Tips for Best Results in Tea Dyeing
Troubleshooting Common Challenges
Even the best plans have hiccups, so let’s address some common problems you might run into and how to tackle them head-on:
- Fading: If your colors seem to fade soon after dyeing, consider using fabric fixatives or vinegar rinse after dyeing. Vinegar helps to set dyes in some cases; try using a solution of one part vinegar and four parts water for a rinse post-dyeing.
- Uneven Dyeing: This often happens if the fabric isn’t submerged fully or evenly. Next time, make sure it’s fully drenched and consider stirring gently throughout the process.
- Color Differences: If you’re left with patches or different color hues, don’t sweat it! It’s part of the charm. You might consider layering colors or doing a second dye bath to even things out.
Advanced Techniques for Unique Effects
For those ready to take things up a notch, there are some cool techniques to try that will lead to eye-popping designs.
Think about layering colors. After your initial dye job, you can dip your fabric in a different tea dye to create unique gradients or multi-toned effects.
Next, consider tie-dye methods. By resisting dye in certain areas (think knots and twists), you’ll create groovy patterns on your fabric. Combine this with eco-printing using leaves can yield stunning, nature-inspired designs.
It’s all about experimenting until you find your groove!
Creative Fabric Dyeing Projects with Tea
Project Ideas for Beginners
If you’re just starting, it’s good to keep things simple. Simple projects will help you build confidence while learning the ropes.
Consider dyeing tote bags or scarves. These items are perfect for adding that personal touch and will seriously elevate your accessory game. Use inexpensive cotton canvas tote bags, and you can experiment with different patterns or textures.
Another fun idea is to create handkerchiefs. Experimenting on smaller pieces is less stressful! Plus, you can use them as gifts or stylish accents for you or friends.
Advanced Dyeing Projects
Once you’ve mastered the basics, it’s time to tackle some advanced projects that will showcase your creativity.
Why not try quilt dyeing? You can make beautiful, cohesive quilts by using various shades of tea dye, telling a visual story with your colors and patterns.
If you’re feeling really adventurous, create wall hangings or detailed textile art pieces. These require more intricate designs, but the payoff with visual impact is incredible. Imagine your unique piece being the talking point in your living room—truly showcasing your skills.
Being bold with your projects opens up a whole new world of creativity, and the only limit is your imagination!
With this complete guide, you’re now armed and ready to explore the enchanting world of tea dyeing. Get those fabric scraps out, grab your tea, and have fun! Happy crafting!
Frequently Asked Questions
What materials do I need for tea dyeing?
To begin tea dyeing, you will need fabric (preferably natural fibers like cotton or linen), tea leaves or bags, water, a pot for boiling, and optional ingredients like vinegar or salt for enhanced color retention. You may also want rubber gloves to protect your hands.
Can I use any type of tea for dyeing?
Yes, you can use various types of tea, such as black, green, or herbal tea. Each type will produce different shades. Black tea typically generates darker and richer hues, while green tea may offer lighter tones. Experimenting with different teas can yield unique results.
How can I prepare fabric for tea dyeing?
Before dyeing, it is essential to wash your fabric to remove any finishes or dirt that might interfere with the dye absorption. Soaking it in a solution of water and mild detergent for about 30 minutes, then rinsing and drying, is often recommended.
How long should I soak the fabric in tea?
Soaking times can vary based on the desired shade. Generally, soaking the fabric in the tea solution for 30 minutes to several hours will yield satisfactory results. For deeper colors, consider extending the soak.
Can I over-dye a piece of fabric?
Yes, you can over-dye fabric to achieve a more intense hue or to correct mistakes. If you find the initial dye too light, re-soaking the fabric in a fresh tea mixture can enhance the color. Just be cautious to avoid uneven results.
What should I do if the dye doesn’t set properly?
If the dye is not setting well, it may be helpful to fix the color using a mixture of vinegar and water after dyeing. Soak the fabric in this solution for about 30 minutes before rinsing. Testing a small swatch first is always a good idea.
How can I store dyed fabric?
To preserve the color of your dyed fabric, wash it in cold water with a mild detergent and hang it to dry away from direct sunlight, which can fade the color. Store in a cool, dry place to maintain the integrity of the dye.
Is tea dyeing safe for all fabrics?
While tea dyeing works best with natural fibers, synthetic fabrics may not take the dye effectively or might produce inconsistent results. Always test a small fabric sample first to ensure compatibility with the dyeing process.
How can I remove tea dye stains from surfaces?
To remove tea dye stains, clean the affected surface immediately with warm, soapy water and a soft cloth. For stubborn stains, a mixture of baking soda and water or vinegar may help lift the dye. Always test cleaning agents on a small area first.
